ROCK’GEL APPLICATION ON MOLD

ROCK’GEL APPLICATION ON MOLD

ROCK’GEL, new GREENIK system. Last generation system with very fast and simple technique. Natural, durable, healthy nail result. It allows to make in an easy way, nails as long as desired.

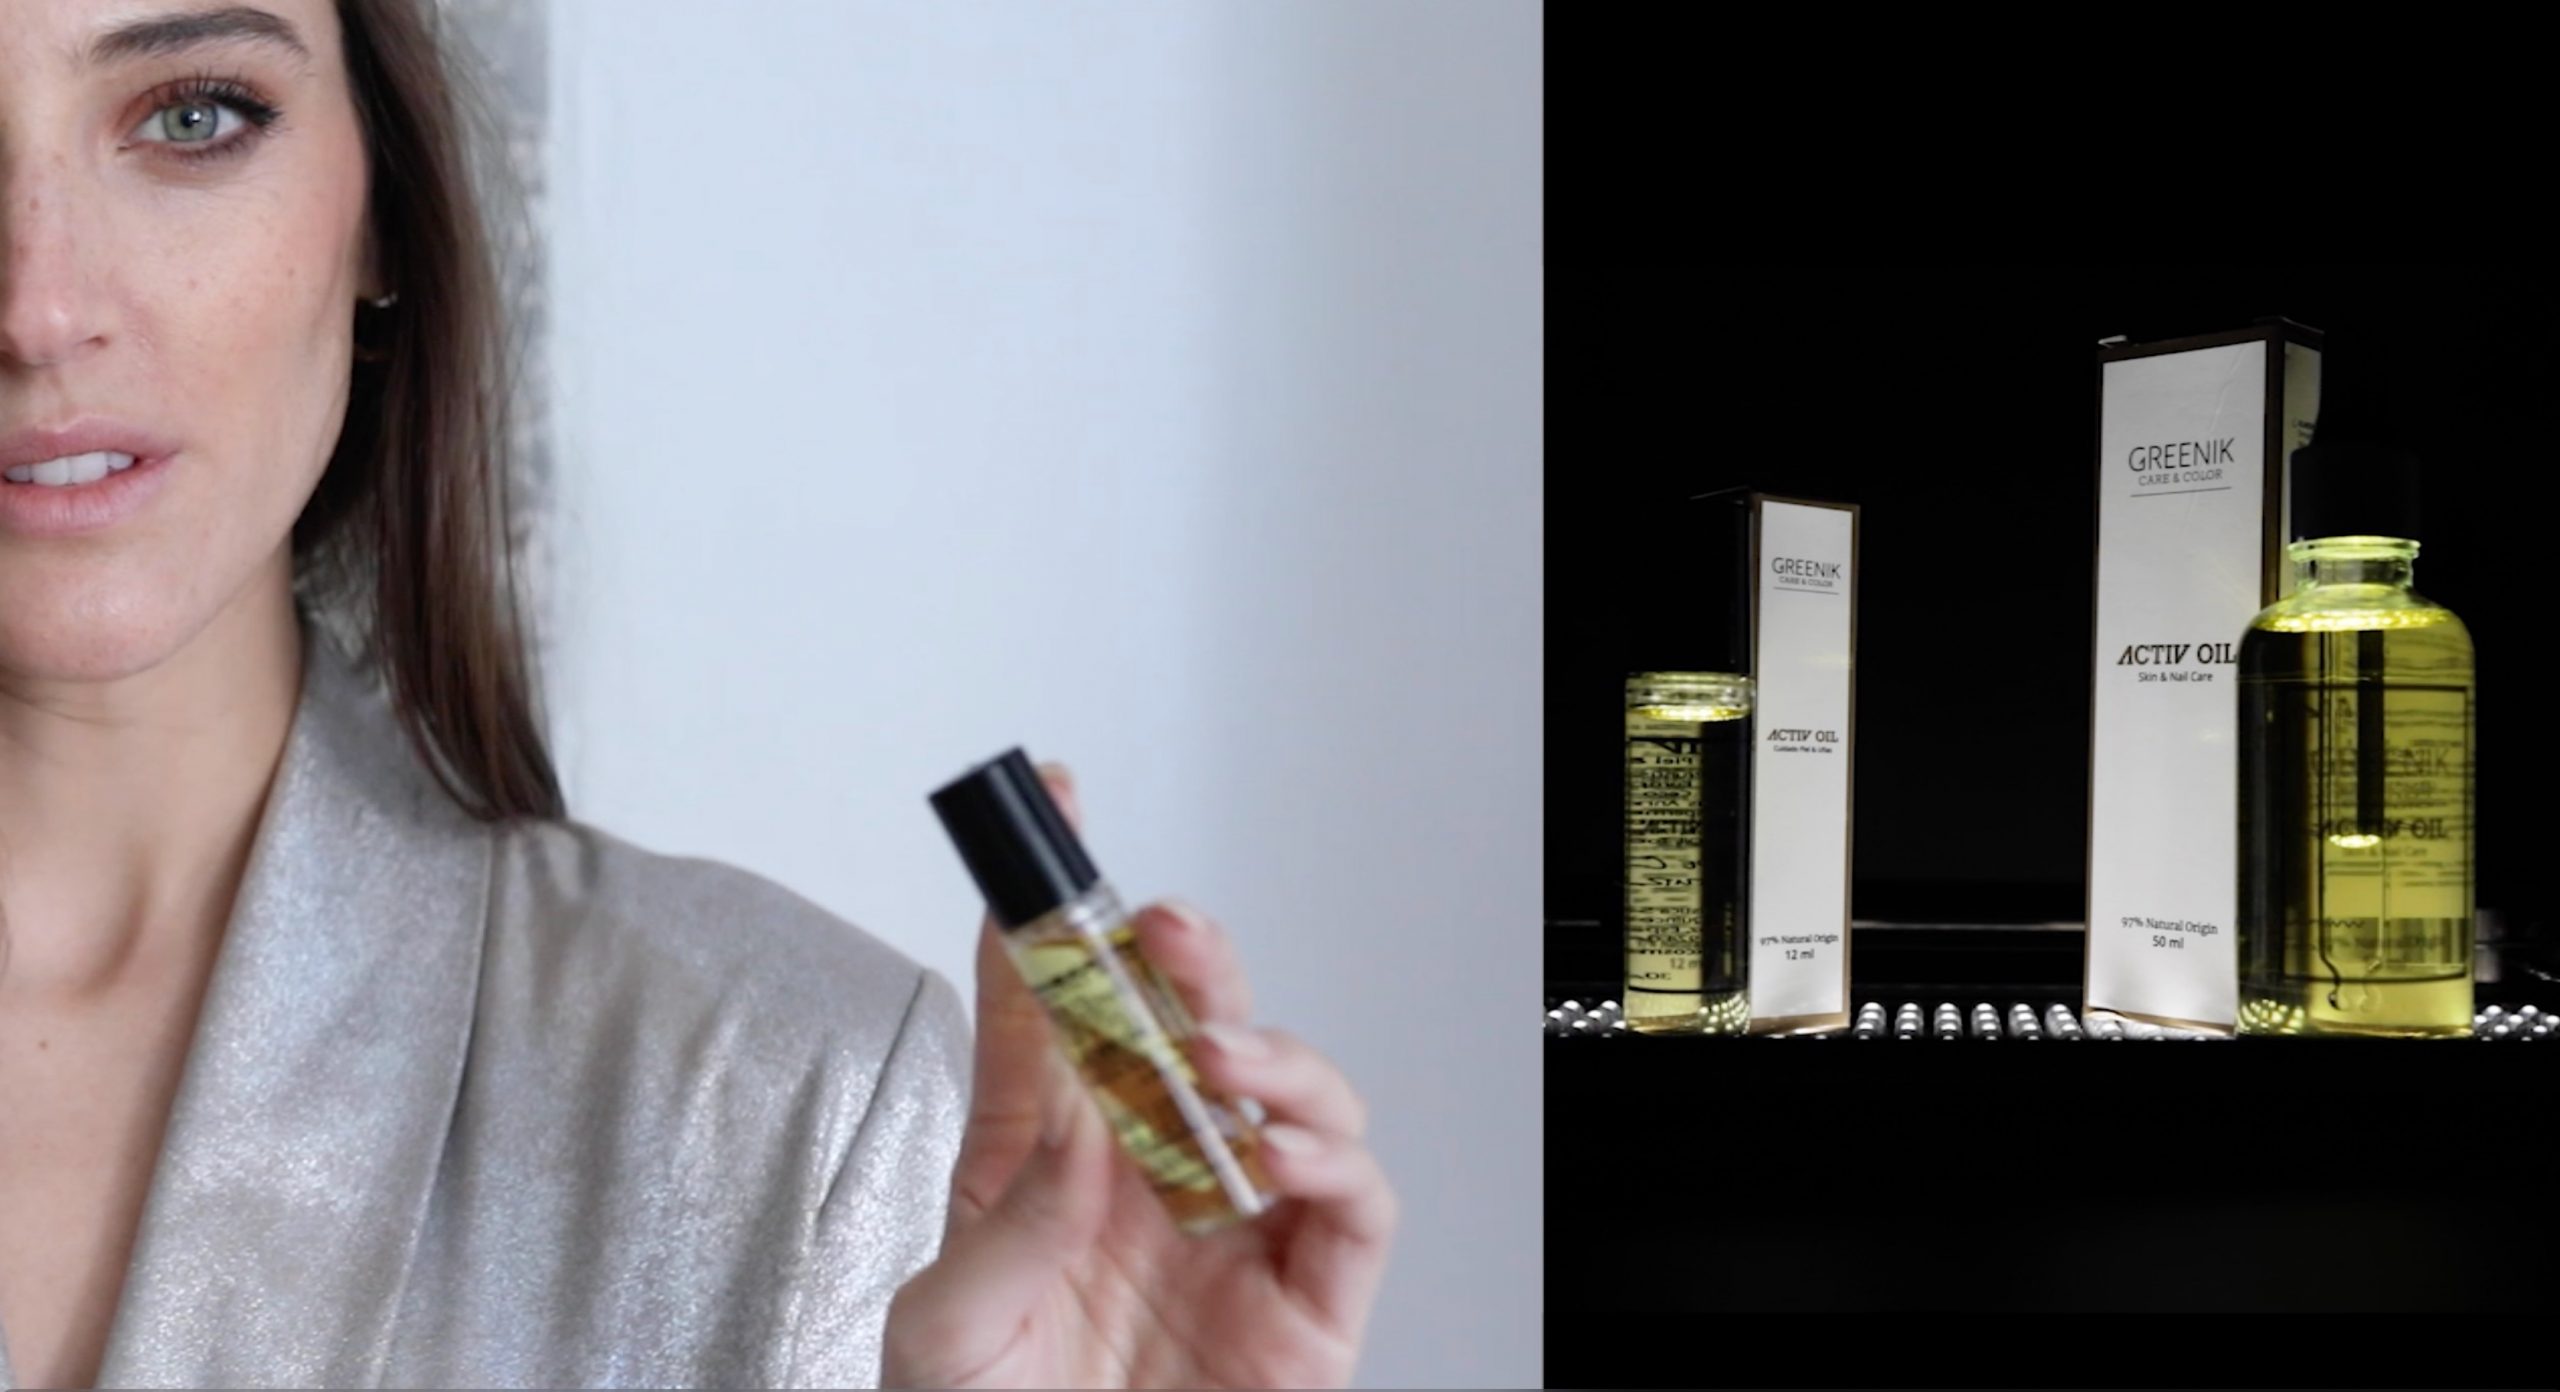
Products that we are going to use:
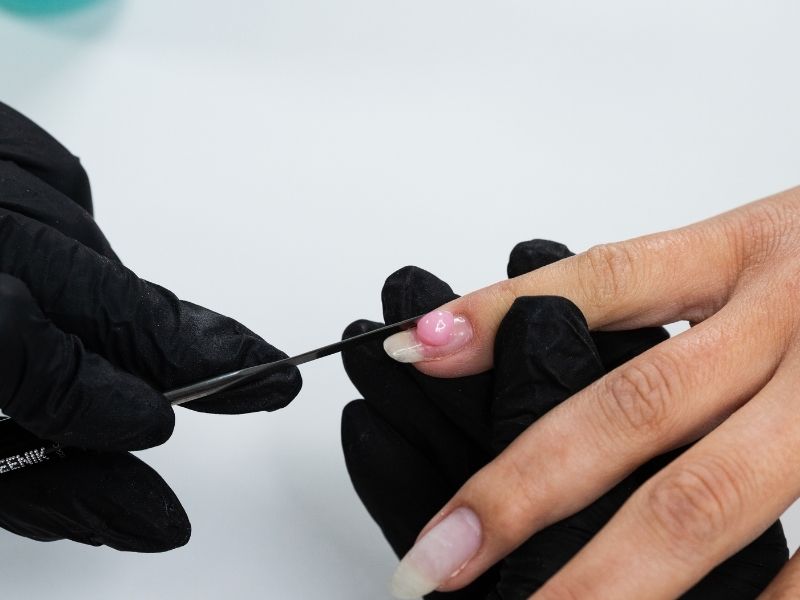
  • Cleanser.
  • Nailprep.
  • Sliding Solution.
  • Rock’Gel Soft Pink.
  • Brush.
  • Mold.
  • Base.
  • Top.
  • Half Moon File.

Steps to follow:

  1. Once the manicure is done with our Greenik protocol of disposable gloves, file and shape the nails.
  2. Eliminate the shine of the nail plate in a smooth way, with a 180 gr file or with a strawberry lathe with the same branches.
  3. Remove dust from the nail.
  4. Apply Nail Prep using a cotton pad.
  5. Apply Rock’Gel Base.
  6. Insert 30 “in 48 W LED lamp or 2 min. In UV lamp.
  7. Place the mold fully adjusting it to the free edge and to the sides of the nail, gluing the tabs so that they coincide and checking that the mold follows the line of the lateral nail.
  8. With the spatula of our Greenik brush, take a ball from the Rock’Gel selected for its color to make the bed and deposit it on the center of the nail.
  9. To work the product with the brush we will help ourselves with the Greenik Sliding solution, wetting the brush and removing the excess by resting the brush on a cotton pad if necessary.
  10. Crush the ball with the belly of the brush to spread the product on the nail.
  11. Work with a brush towards the cuticle area using the tip of the brush at a 45º angle.
  12. With the brush belly held horizontally, work the sides and center of the nail to achieve a correct C curvature and a reinforced stress zone.
  13. Brush to the free edge.
  14. Insert 60 “in 48W LED lamp or 2 min. In UV lamp.
  15. Clean the dispersion layer with Greenik Cleanser or Greenik Sliding.
  16. File the straight sides to the groove of the nail with a file of 100-150-180 gr.
  17. Give the agreed shape to the free edge of the nail (oval, square, spearhead, almond …).
  18. File the contour and around cuticles until you get a correct C-shaped nail shape with a reinforced stress zone that will give it greater resistance.
  19. Polish the nail with Greenik 240 branching mini plug.
  20. Clean dust with Greenik Cleanser or Greenik Sliding solution.
  21. Apply Top or Top & Go.
  22. Insert 60 “in 48W LED lamp or 2 min. In UV lamp.
  23. If instead of a mold, we would like to work on the tip, once the nail has been prepared and applied the Nail Prep, select and paste the tip, file and correct the shape, lower the area of gluing on the nail and tactfully eliminate the shine of the tip. Remove dust and reapply Nail Prep.

Natural, durable and healthy nail!

more
articles